Jupyter Notebook
Overview
This section is a brief overview of connecting a Jupyter notebook/server instance to Elasticsearch to slice and dice the data as you wish. It will not cover the setup of a Jupyter instance, which has been thoroughly documented (using Docker) at https://jupyter-docker-stacks.readthedocs.io/en/latest/index.html.
Security Onion Setup
Create Jupyter User
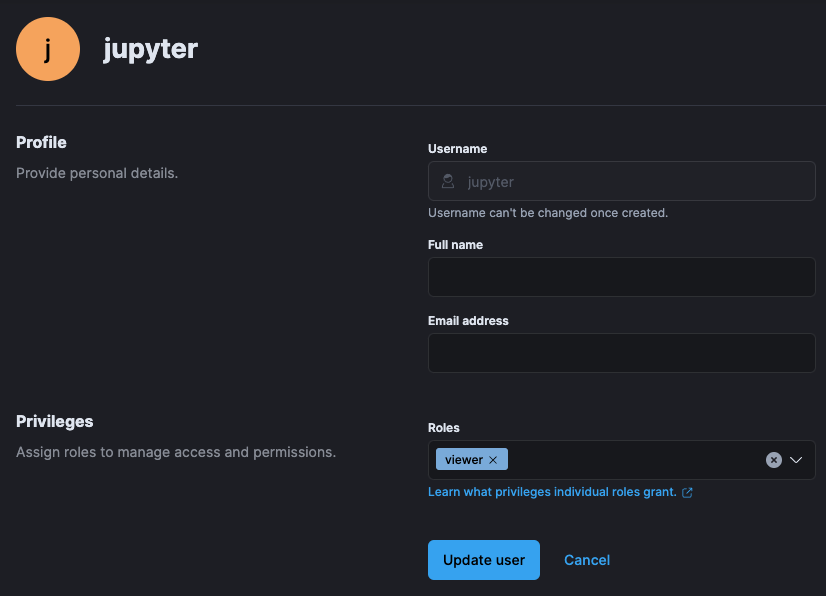
As a best practice, you’ll want to create a dedicated Jupyter notebook user with just read-only access to the data inside of Elasticsearch. In Kibana, navigate to Stack Management -> Users and create the user with appropriate permissions:
Security Onion Firewall
In order to allow network-based access to Elasticsearch, you’ll need to allow the traffic through the host-based firewall by going to Administration –> Configuration –> firewall –> hostgroups.
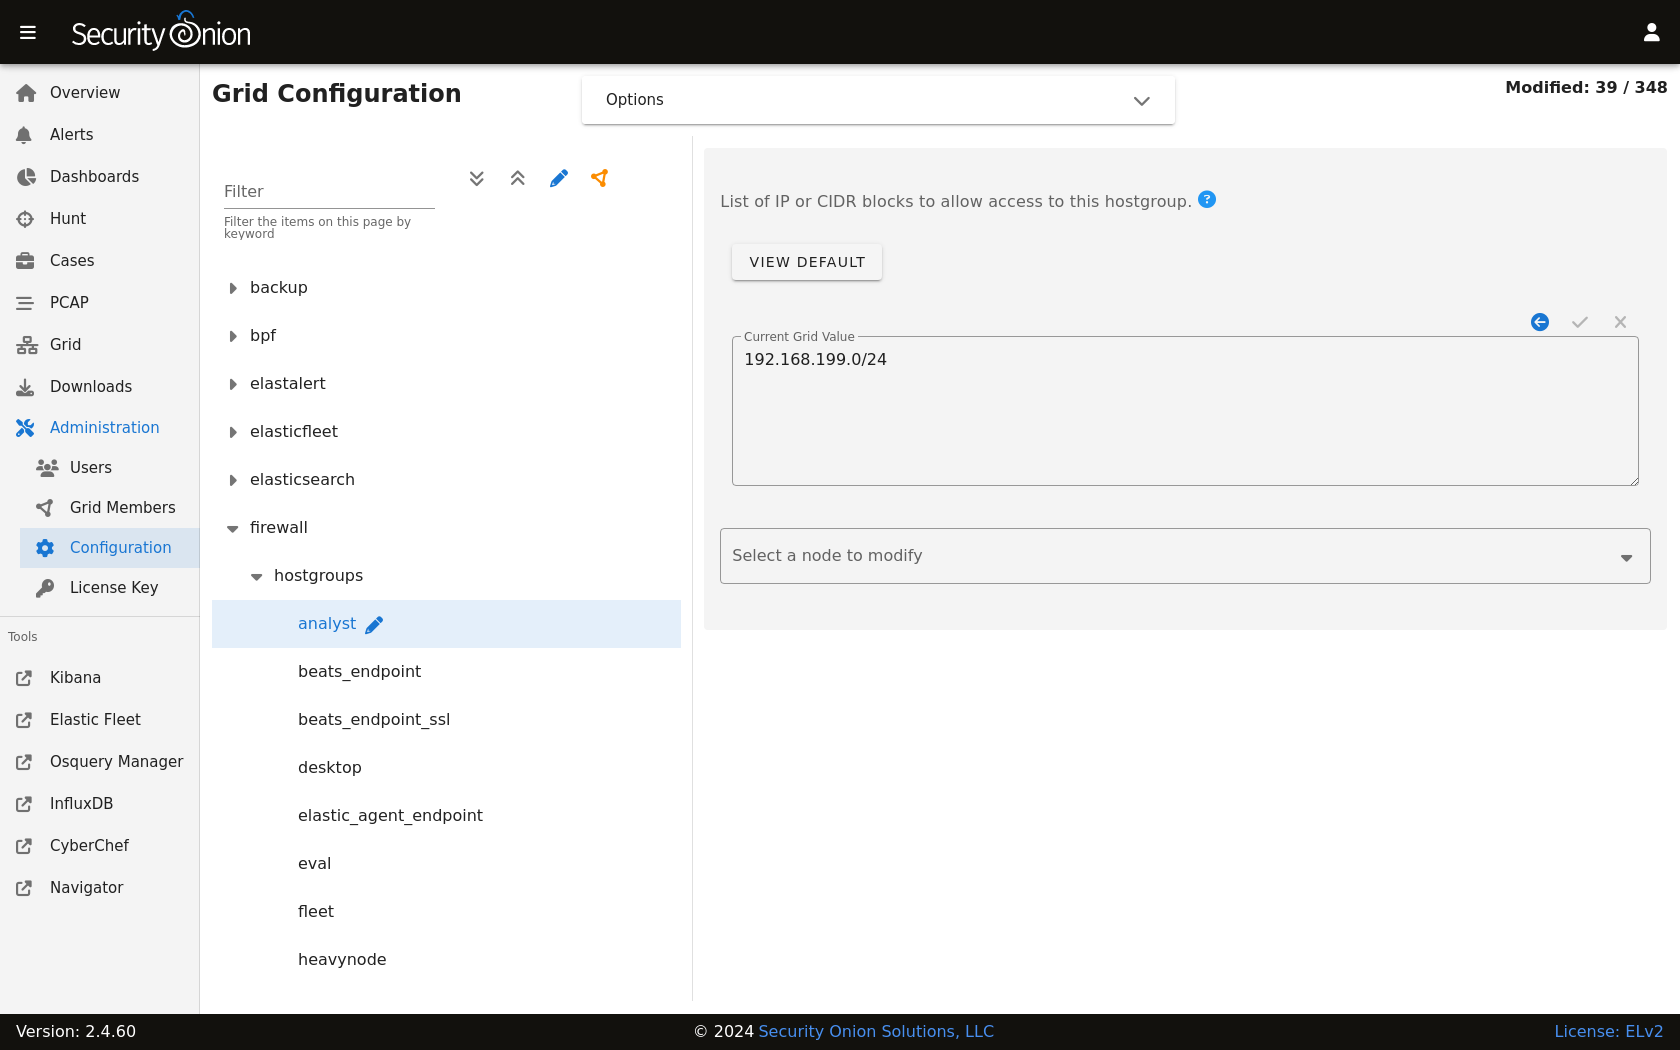
At the top of the page, click the Options menu and enable the Show all configurable settings, including advanced settings. option. On the left side, select the elasticsearch_rest option. On the right side, add your IP address or CIDR blocks and click the checkmark to save.
Once complete, you should be able to connect to the Elasticsearch instance. You can confirm connectivity using tools like curl or Powershell’s Test-NetConnection.
Jupyter Notebook
Note
The following steps are heavily inspired by Roberto Rodriguez’s Medium post:
The Jupyter environment will need to have at least the following Python libraries installed:
elasticsearch
elasticsearch_dsl
pandas
You can install these using the following commands on the Jupyter host, or within the Jupyter Docker container:
pip3 install elasticsearch
pip3 install elasticsearch_dsl
pip3 install pandas
Once the Python prerequisites are installed, we can start executing commands within our notebook.
We’ll start with importing the libraries we just mentioned. In the first cell, we’ll paste the following:
from elasticsearch import Elasticsearch
from elasticsearch_dsl import Search
import pandas as pd
Then, we’ll press Shift+ENTER to execute the command(s) within the cell (can also click to run the cell from the Run menu).
In the next cell, we’ll specify the Elasticsearch instance address and port (192.168.6.100:9200) and the username (jupyter) and password (password) we created within Security Onion, as well as the index filter we would like to use for searching (*:so-*):
es = Elasticsearch(['https://192.168.6.100:9200'],
ca_certs=False,verify_certs=False, http_auth=('jupyter','password'))
searchContext = Search(using=es, index='*:so-*', doc_type='doc')
Note
We are choosing to use verify_certs=False here to avoid complications with self-signed certificates during testing. Ideally, we would want to make sure we are performing verification wherever possible.
Again, we’ll execute the code within the cell, by pressing Shift+ENTER.
We may see a warning like the following due to the fact that we are not performing verification for certificates:

For convenience during our testing, we can disable the warning in future runs, by pasting the following the next cell and executing it with Shift+ENTER:
import urllib3
urllib3.disable_warnings(urllib3.exceptions.InsecureRequestWarning)
In the following cell, we’ll paste the following:
s = searchContext.query('query_string', query='event.module:sysmon')
In this example, we are looking for logs that contain a field called event.module and a value of sysmon (Sysmon logs). Once more, we’ll press Shift+ENTER and continue on.
Finally, we’ll submit our query in the next cell using the following:
response = s.execute()
if response.success():
df = pd.DataFrame((d.to_dict() for d in s.scan()))
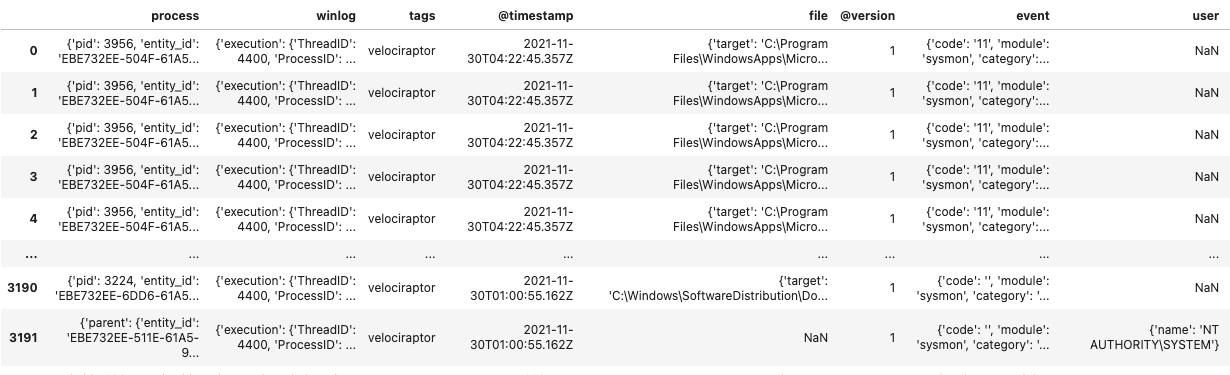
df
The above code simply takes the results and converts them to a Python dict:
We can select a few fields, and modify the column values if we like:
response = s.execute()
if response.success():
    df = pd.DataFrame(([d['event']['dataset'], d['process']['executable'], d['file']['target']] for d in s))
df.columns=['Dataset','Executable', 'Target']
df
Then we end up with something a little bit more targeted (you may need to adjust pd.options.display.max_colwidth for it to display appropriately) :

Obviously, there is much more we can do with this data other than just running the above example code. Happy hunting!